We couldn't help ourselves. They transformed one of the local 7-Eleven stores into the Simpson's Kwik-E-Mart and we had to go see. It was so crowded there! I think every kid within the area was there buying Squishies and do-nuts.
 We couldn't help ourselves. They transformed one of the local 7-Eleven stores into the Simpson's Kwik-E-Mart and we had to go see. It was so crowded there! I think every kid within the area was there buying Squishies and do-nuts.
 The finished size for this project is 3.5" square. No sweaty hands. No heavy wool fabric or scratchy burlap draped over you. In this piece, I tried playing with different loop lengths to get the watermelon and the heart to "pop" out more. The ouline was done on the lowest setting to create a bit of shadow between the main objects and the background.
  I tried the technique here on the snowman one the left but not sure the results was what I wanted.
  The snowman on the right was done increasing the loops each row going towards the inside, making the body rounded. It was much better but you can't really tell from the picture.


 The little sock blocker and mini Opal was too cute to pass up! I think I'll keep the Opal intact and use some of my leftover sock yarns to knit the mini sock. Is it strange to want to change the sock on my keychain to match the socks I'm wearing?
 On the way home, we stopped off to pick up a package at the post office...


 The plan for this glorious super long Easter weekend? Sew the sleeves to the body and decide on how I would like to finish the edges.


 The Weather Guys weren't kidding when they said it was going to rain all weekend. What you can't see is the rain coming down by the buckets! Nice weather if you're a duck. It's nasty out there today. It's good for the plants, though.
  My plan for today is to make a big pot of chicken soup, bake some bread, and try to finish the top of my cardigan. And start the sleeves.
 Last weekend I went through some of my fibre buckets and found a bag of the Cotswold/silk blend from last year's Fibrefest. I started spinning it and it's really wonderful to spin a beautiful fibre that's so well prepared. Last summer, I had spun up a small sample of this fibre. I found it needed a lot of twist and the single was very stiff and wirey. I wasn't sure I liked it. But after plying, the resulting yarn was much softer and knits up very nicely. I love silk blends in my wool. Silk gives the fabric a nice shine but really hard to photograph.
  This is a Fuzzy Dozen from Fuzzy Mabel. I love it! You buy 12 skiens and they send you 13. Free wool. It's all good. Not sure what this will be yet...just yarn therapy for the moment. I usually have my packages deliverd to me at work. This saves me from having to make a special trip to the post office. In the middle of a bad day, a package of yarn arrives. How cool is that? There's more than enough for a sweater of some sort, eventually.

 Another great thing about these tomatoes is that they germinate quickly. The seeds were planted 2 weeks ago and now they're 2" tall, starting their secondary leaves. It's not too early to start them indoors. They should be ready to planted outside in early May.
  Not much to see yet but this little one is a Zebra Tomato planted a week ago. I came across someone selling Zebra tomatoes at the Farmer's Market last year. She suggested saving the seeds for this year. I saved 12 seeds and wasn't sure if they would germinate. So far, there are 3 little seedlings popping up.
  Good thing I wasn't on any kind of yarn diet. A couple balls of sock yarns and two skeins of Elizabeth Lavold's silky wool came home with me. The idea was to make myself a hat with silky wool. I don't know why becuase I don't wear hats. I think they must put something in the air at the store because, for the life of me, I really don't know why that idea came to mind. Anyhow, there's enough to do a scarf. Most likely, it will just go into the stash for a few years.
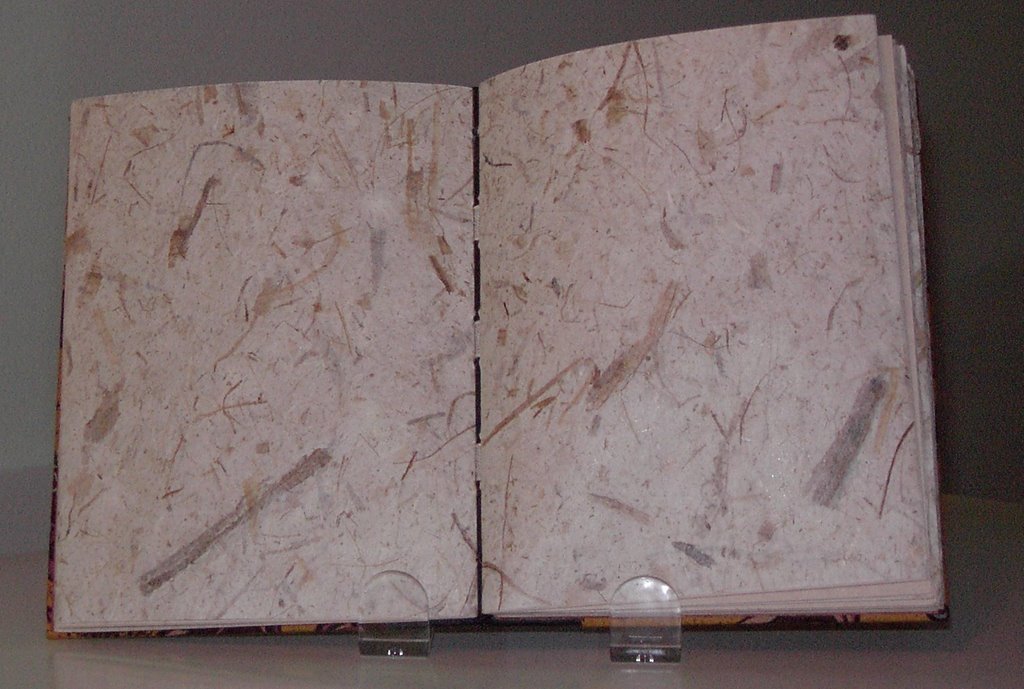
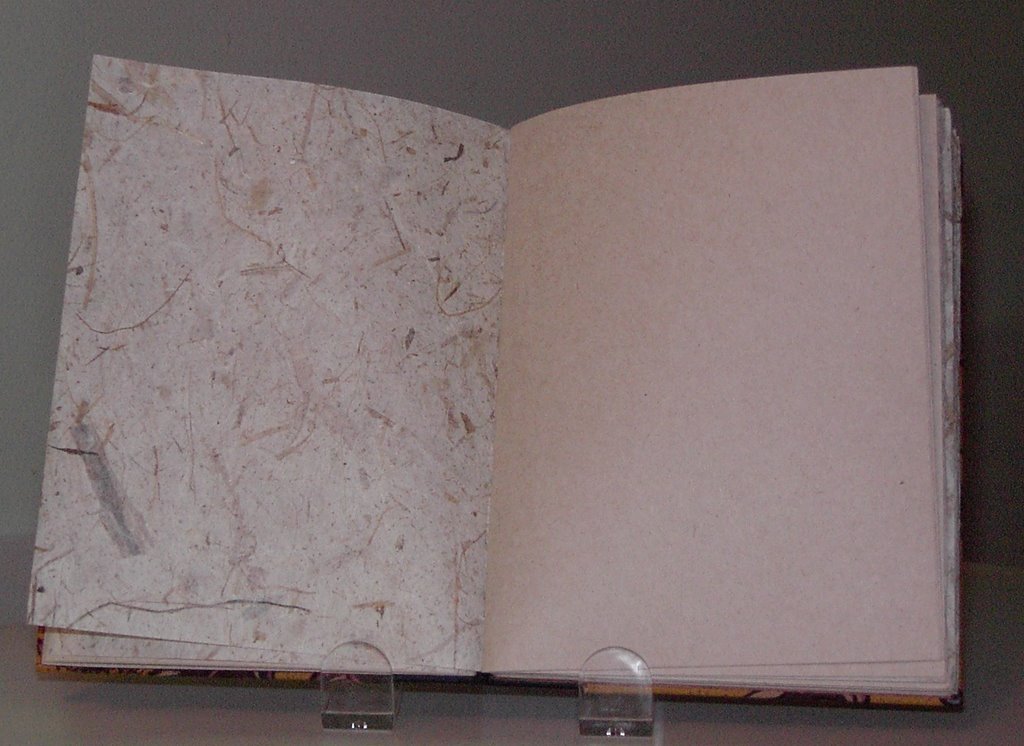
  The sewing frame worked really well but it will take a bit of practice to use it. I kept banging into the top bar as I sewed. It took a bit to get used to not being able to constantly turn the book while sewing. The first attempt came out ok - the tension was a bit uneven but I'm hoping that will improve with practice.
 The holes in the covers were punched out with a die cutter and the threads were looped through and tied off. The knots were dabbed with glue to keep them from unraveling.
 Paperwhites are the most amazing flowers ever! The bulbs were started indoors back in October. The flowers bloomed just in time for Christmas and have been going strong since. The fragrance is wonderful! A cross between jasmine & orange, I think.
 There's a million things you can use 30 foam brushes for. The local Michael's was having a Dollar Day sale and the brushes were only 10 for $1.00. I use them mostly for gluing. At this price, I'm not going to sweat it if I forget once in a while to wash them before the glue dries. The poor cashier had to ring them in one at a time.
 I had a nice quiet day puttering around, working on my sewing frame. My wood working skills really does leave a lot to be desired but this will do until I make a better one. Better than paying $109 US plus shipping. I won't show the close up pics of the toothpicks jammed in with the posts to keep them straight. Total cost: $10.00 for the hardware. The wood was odds & ends from the garage...and that was free stuff I got from work. Not fancy but it'll do the job. The plans are in the Keith Smith books but I didn't follow the exact measurements. I just used whatever wood bits found in the garage. I only had to make one cut. The less cuts made, the less chances of me cutting my fingers off.
  This is my new friend - a mix of silk waste & shetland. Ever since I saw Susan Forsythe's "garbage batt" sweater, I've been saving my fibre odds & ends. Most of the silk was supplemented by the silk waste from Treenway Silks. This is batt #3, fresh off the drum carder. I have a total of 18 to blend.
 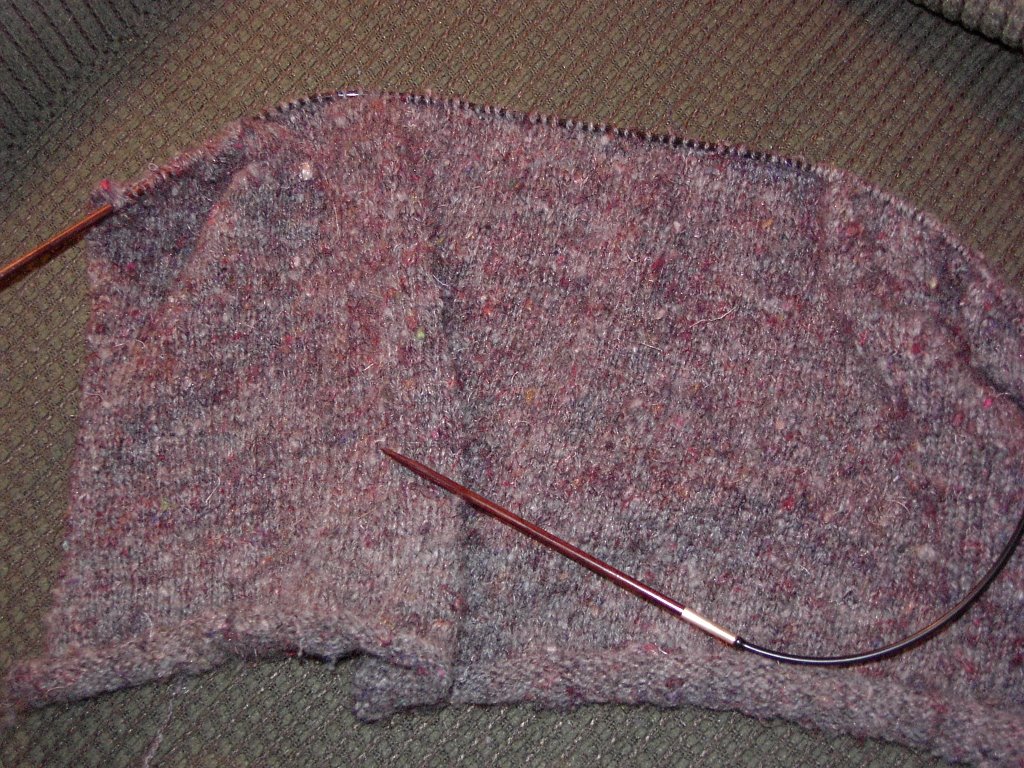 Meet batts #1 & 2 - destined to become a cardigan of some type. Nothing special - cast on a whole bunch of stitches, knit to where the armhole should go, cast off a couple of stitches for armhole shaping, knit to shoulders & shape neck. For the front, cast on half the back stitches for each of the front, knit to where the armholes should go, etc.